Starting a dropshipping business on Shopify is one of the easiest ways to break into the world of e-commerce.
With minimal upfront costs and no need to manage inventory, it’s an attractive option for entrepreneurs.
But just because it’s accessible doesn’t mean it’s always simple – there are still important steps to get everything running smoothly.
In this guide, we’ll walk you through the essential steps to start Shopify dropshipping in 2025.
Whether you’re a complete newbie or have some experience, we’ve got you covered with all the information you need to launch and grow your store with confidence.
Let’s get started!
Why Choose Shopify for Dropshipping?

Shopify has become the go-to platform for dropshippers, thanks to its simplicity and powerful features tailored to this business model. Here’s why it’s a favorite:
- Seamless Integration with Dropshipping Tools:Shopify works flawlessly with popular dropshipping apps and tools. These tools help you find products, import them to your store, and automate order processing—saving you hours of manual work.
- Beginner-Friendly Setup:Setting up a Shopify store is quick and easy, even if you’re new to eCommerce. With customizable themes and no coding required, you can have a professional-looking dropshipping store up and running in no time.
- Global Selling Made Simple: Dropshipping often involves sourcing from one region and selling to another. Shopify supports multi-currency and multi-language features, making it easier to cater to customers worldwide.
- Automation and Scalability: Dropshipping is all about efficiency, and Shopify excels at automating repetitive tasks like order forwarding and inventory updates. Plus, the platform scales with your business as you grow.
- Built-In Marketing Features: From discount codes to email marketing integrations and SEO tools, Shopify equips you with resources to promote your dropshipping store and attract customers without needing third-party software.
In short, Shopify removes the heavy lifting and lets you focus on finding the right products and growing your brand. For anyone looking to dive into dropshipping, it’s a smart, beginner-friendly choice.
9 Simple Steps to Start Shopify Dropshipping
Step 1: Create a Shopify Account
Starting your Shopify dropshipping journey begins with setting up your account. Here’s how:
- Visit the Shopify Website: Head to Shopify.com and click on the “Start Free Trial” button.
- Sign Up: Enter your email, create a password, and name your store. Don’t worry too much about the store name now—you can always tweak it later.
- Set Up Your Store: Shopify will guide you through a simple onboarding process, asking about your business goals and level of experience.
Once your account is set up, you’ll gain access to Shopify’s user-friendly dashboard. This is where you’ll build your store, manage orders, and track sales.
Pro Tip: Start with the free trial to explore Shopify’s features without any upfront costs. This will give you a feel for the platform and help you decide if it’s the right fit for your dropshipping business.
Step 2: Choose a Store Theme
Next, add a custom design to your Shopify store. This is not a compulsory step, but some benefits come with having an appealing store.
It is a great way to create a brand and give personality to your store. This will also ensure clients keep coming back for more.
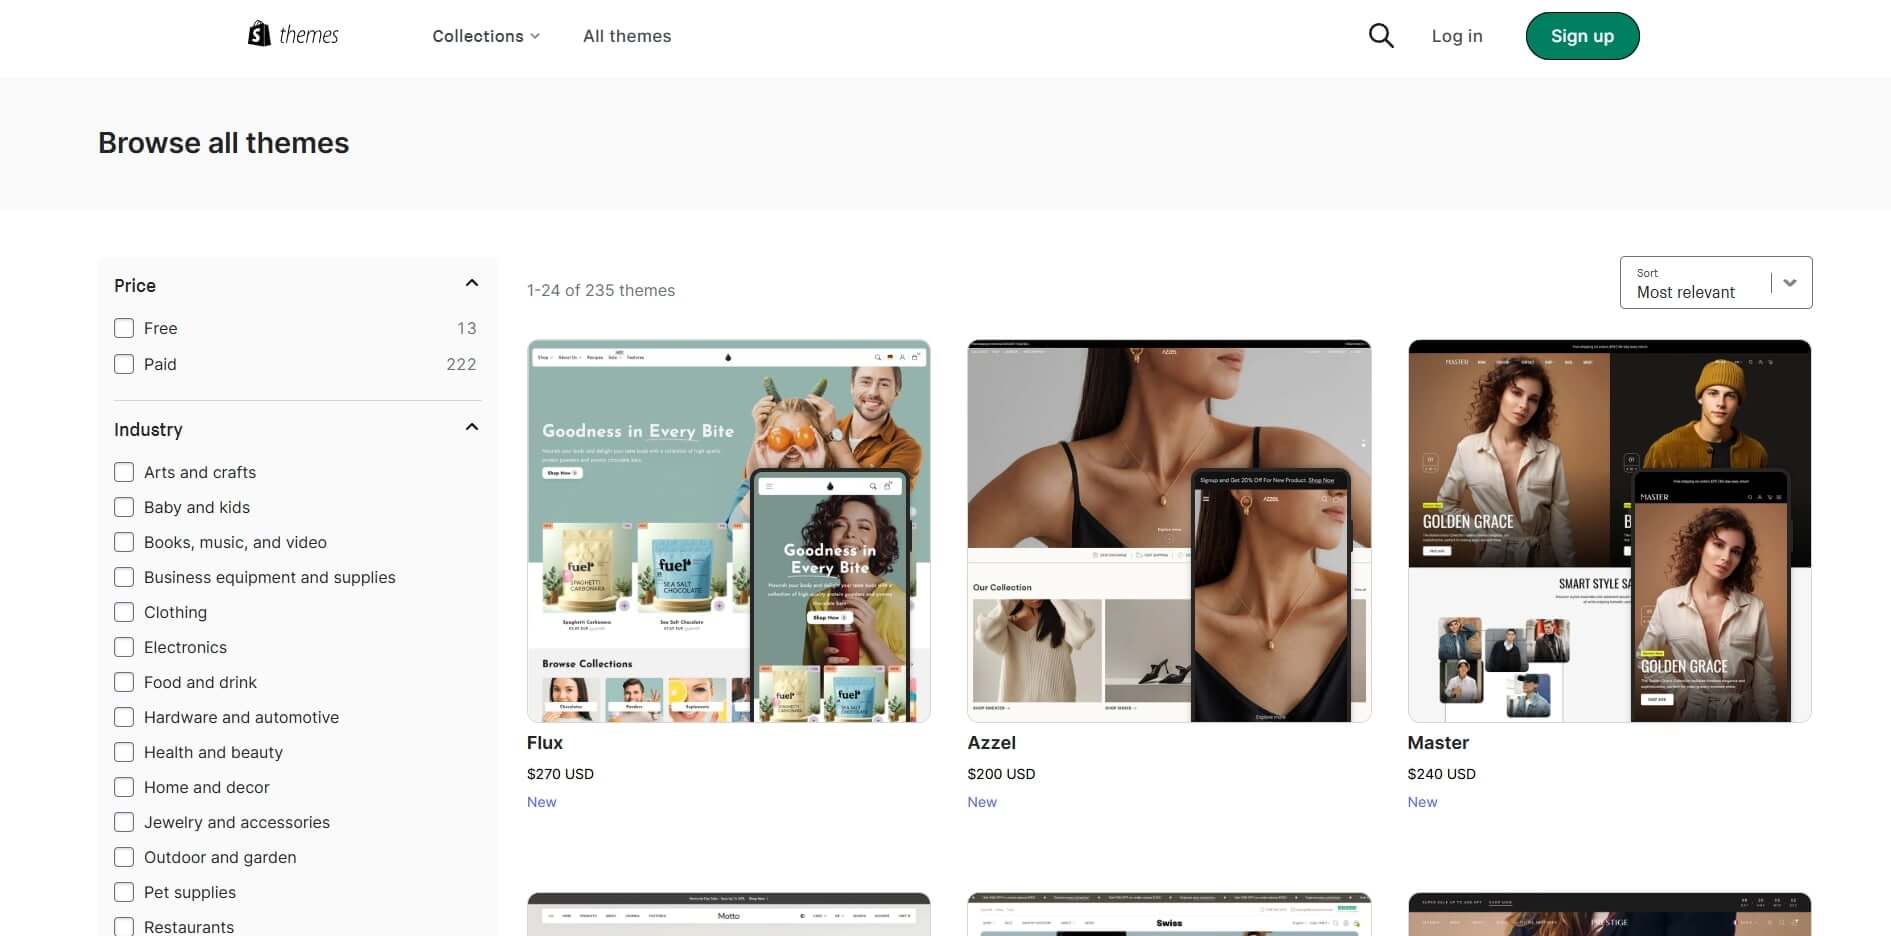
To add a theme, you can choose one from the Shopify theme store, which offers many options. There are free and paid options available, so go with one that falls within your budget.
You can further personalize things by editing your theme. Shopify allows you to do this with the template editor or theme settings.
When you are through, ensure you check it out on both desktop and mobile devices. Sometimes, a theme may be fine on a PC but might look different on a mobile device.
And while you’re at it, also create a logo. It doesn’t have to be anything fancy, you can maybe just start by creating something simple using a tool like Canva.
If you’re entirely new to this then watch an online tutorial. Or if you have the budget then simply, ask a pro to take care of the design aspects of your website.
Pro Tip: Keep your design minimal and professional. A clutter-free, easy-to-navigate store builds trust and encourages customers to shop with you.
Step 3: Create your Domain Name
Shopify gives you a default store name but pretty much no one uses that because it lacks originality.
Your domain name is the web address where customers will find your store. It’s also one of the first impressions your brand will make, so choosing the right one is important.
Here’s how to do it:
- Pick a Memorable Name: Choose a name that is simple, easy to spell, and represents your niche or brand. For example, if you’re selling eco-friendly products, something like “GreenGoodsStore” could work.
- Check Domain Availability: Use Shopify’s domain checker (found in your Shopify dashboard under ‘Settings > Domains’) to see if your preferred domain name is available.
- Buy a Domain: You can purchase a domain directly through Shopify or use third-party providers like GoDaddy or Namecheap. Shopify’s integration makes setup seamless, so buying directly from them may be more convenient.
- Connect Your Domain to Shopify: If you purchase a domain outside Shopify, follow their guide to link it to your store. Shopify provides step-by-step instructions for smooth integration.
Pro Tip: A custom domain (e.g., mystore.com) looks more professional than Shopify’s free domain (e.g., mystore.myshopify.com) and helps build trust with customers.
Step 4: Add Your Products
After completing the steps above, it is now time to add your products. That’s assuming you’ve already done product research, if you haven’t then read you can check out our guide on the best ways to find dropshipping products.
That said, you need to add your products carefully because mistakes in product listings will prevent you from converting customers and making sales.
Navigate to the Shopify admin panel and choose products you want to sell. There are a few choices available in this category which are:
Manually Add Products

This may be a great choice if you have a few products to sell. Here, you will include the product’s details manually, like the name, description, size, etc. You will also have to upload the product images yourself with this option.
However, if you have many products, this might not be an ideal option as it may take up too much time.
Use a CSV File to Import Products
This is ideal for uploading numerous products simultaneously. Head to the Shopify admin to upload your CSV file. However, note that there is a size limit of 15mb for CSV files.
Use Dropshipping Apps
This is the simplest solution available. Many applications enable seamless integration that helps you find and add products directly to your Shopify store.
This saves you resources that you channel to other areas of your store. Some of the most popular optionervice-shopify-integration/s include Printify, Spocket, and CJDropshipping.
When you make a sale, these apps can also handle the process of order and fulfillment. They also come with numerous customization features, making it easy to edit images, product names, and descriptions.
These apps come with various price packages, so do your research and choose one that suits your budget.
Pro Tip: Compare the pricing plans of different apps to choose one that fits your budget and business needs. Most apps offer free trials, so take advantage of those to test them out before committing.
Step 5: Set Up Payment Gateways
To start accepting payments on your Shopify store, you need to configure your payment gateways. Shopify gives you plenty of options to make sure you can get money in a way that works for you.
1. Shopify Payments
The easiest route is to use Shopify Payments. It’s already built into your store, so you don’t need to worry about extra integrations. You’ll be able to accept credit cards, and Shopify won’t charge you any transaction fees if you use it. Plus, you can also offer convenient options like Apple Pay, Google Pay, and Shop Pay for even quicker checkouts.
2. Third-Party Payment Providers
If you’re not into Shopify Payments or it’s not available where you are, you can go with other providers like:
- PayPal
- Stripe
- Authorize.Net
Just keep in mind, third-party gateways usually have extra fees, so it’s a good idea to check the costs before you commit.
3. Manual Payments
You can also set up manual payment options like cash on delivery or bank transfers. This one’s good if you want to offer an alternative to the usual online payment methods, but you’ll have to manually process those orders.
4. Test It Out
Once you’ve set everything up, make sure to test it out! Shopify lets you use a “bogus” payment gateway to do a trial run, so you can check if everything is working before going live.
Pro Tip: Before diving into payment setups, double-check that your store’s currency, tax, and shipping rates are all good to go. It’ll save you some headaches down the line.
Step 6: Configure Shipping Settings

Now it’s time to figure out how you’ll ship your products. First, start by defining your shipping zones. These are the regions or countries where you’ll offer delivery. You can choose to ship only within your country or internationally, depending on your business plans. If you’re starting small, focusing on local shipping can be a good move.
Next, you’ll need to choose your shipping rates. You have a few options here:
- Free Shipping: You can offer free shipping for certain regions or on orders above a certain price.
- Flat Rate: You can set a fixed shipping cost across all zones.
- Calculated Rates: With this option, Shopify will calculate shipping fees based on the product’s weight and size at checkout.
If you want to incentivize customers, you can create free shipping discount codes. You can set conditions like a minimum purchase amount or specific regions where the free shipping will apply.
When it comes to actual delivery, you’ll need to pick a shipping carrier. Shopify comes with built-in options like USPS, UPS, and Canada Post. If you want more flexibility, you can also integrate with third-party carriers using apps like ShipStation.
Pro Tip: Make sure to test your shipping setup by placing a dummy order to ensure everything works as expected!
Step 7: Generate Shopify Store Policies & Legal Pages

Before you go live, make sure you’ve got your legal pages sorted. This includes your Privacy Policy, Terms and Conditions, and Refund Policy. These pages are important not only for building trust with customers but also for complying with legal requirements.
You can add legal pages by opening your Shopify dashboard and then go “Settings” > “Policies.” There you will also find templates for legal pages.
If you want more customized legal page content then you can also use AI tools like ChatGPT to help you generate clear and effective legal content. For instance, you can prompt ChatGPT with something like:
“Please create a comprehensive Privacy Policy for my Shopify store that sells [insert product type]. The policy should include sections on data collection, storage, and usage.”
This can give you a solid starting point, but remember, it’s always a good idea to have a legal professional review it!
Once your legal pages are in place, make sure to link them in the footer of your store so customers can easily access them.
Pro Tip: Sometimes your legal pages might require tweaks or custom clauses depending on the product. If you’re selling specialized or high-risk products (like health-related items) then consider consulting a professional.
Step 8: Launch Your Shopify Store

You’re almost there! Once everything is set up, it’s time to launch your Shopify store and make it live for the world to see.
Before hitting “launch,” make sure to do a final check:
- Review your store: Make sure all the pages (like the homepage, product pages, and checkout process) look good and work smoothly.
- Test your checkout: Place a test order to ensure the payment process is working properly and that customers can complete their purchases without issues.
- Optimize for mobile: With more people shopping on their phones, check your store’s mobile version to ensure it’s responsive and user-friendly.
- Check for broken links: Use a tool to scan your store for any broken links that might confuse or frustrate customers.
- Set up Google Analytics: This helps you track store traffic and sales to analyze performance and adjust strategies later.
Once everything looks perfect, you’re ready to go live. You can hit “Launch” and start promoting your store to drive traffic!
Step 9: Market Your Shopify Dropshipping Store

Once your store is live, it’s time to spread the word and start driving traffic. Marketing is key to attracting potential customers and making sales. There are many strategies you can use, depending on your budget and target audience. Here are a few to consider:
- Social Media: Platforms like Instagram, Facebook, and Pinterest are perfect for showcasing your products and connecting with potential customers. Post engaging content, share customer reviews, and use ads to reach a wider audience.
- Content Marketing: Start a blog and share valuable content related to your niche. This can drive organic traffic to your store and help build a loyal audience. You can answer common questions, offer tips, or share stories about your products.
- Influencer Marketing: Collaborating with influencers who align with your niche can quickly grow your reach. Influencers can introduce your brand to a new audience and generate buzz for your products.
- Paid Advertising: Running ads through Facebook, Instagram, or Google can help bring targeted traffic to your store. Ads are a great way to get your products in front of people who are already interested in what you offer.
- Email Marketing: Collect emails and send out newsletters with product updates, promotions, and sales. It’s an effective way to keep customers engaged and encourage repeat purchases.
- Search Engine Optimization (SEO): Optimize your store’s content with relevant keywords to help improve your search engine rankings. The higher you rank, the more organic traffic you’ll attract.
There are many more strategies out there, and it’s important to test different approaches to see what works best for your store.
If you’re looking for even more ideas and tips on how to effectively market your dropshipping store, be sure to check out this guide on dropshipping marketing strategies.
The right marketing approach can make all the difference in the success of your Shopify dropshipping business, so don’t be afraid to experiment and refine your methods!
FAQs
How to Integrate Dropshipping Apps to Your Shopify Store?
Integrating dropshipping apps to your Shopify store is super easy! Here’s a simple step-by-step guide:
- Go to the Shopify App Store: Open the Shopify App Store and search for dropshipping apps like Spocket, DSers, or Printify (or any other app that fits your needs).
- Install the App: Once you find the app you want, click “Add app” and follow the prompts to install it directly to your store.
- Set Up Your Account: After the app is installed, create an account and link it to your Shopify store. Most apps will walk you through this process with clear instructions.
- Start Adding Products: Once everything’s set up, use the app to browse through products, import them to your store, and adjust your pricing and descriptions to match your brand.
Many of these apps automate the order fulfillment process, saving you tons of time and effort, so you can focus on other areas of your business!
Do You Need Experience to Start Shopify Dropshipping?
Nope! Shopify dropshipping is beginner-friendly, so you don’t need prior experience.
With the right tools and a little learning, anyone can start a dropshipping store.
Most of the process is automated, especially when using dropshipping apps, so you’ll only need to focus on things like marketing, customer service, and finding the right products.
Plenty of guides, tutorials, and customer support from Shopify and the apps you use will help you along the way.
How Much Does Shopify Dropshipping Cost?

The cost of starting a Shopify dropshipping store varies depending on your plan and tools. Here’s a basic breakdown:
- Shopify Subscription: Starts at $19/month for the Basic plan, which is enough for most dropshippers. You can upgrade as your store grows.
- App Subscriptions: Dropshipping apps usually have free plans with limited features, but you’ll want to get a paid plan to unlock more features (around $30–$100/month depending on the app).
- Additional Costs: You will also need to pay for marketing, custom domain registration, and premium themes, which can range from a few dollars to several hundred per year.
In total, expect to spend between $50 to $200/month depending on the size and scale of your business.
Can I Dropship Internationally on Shopify?
Yes, you can dropship internationally on Shopify! Shopify allows you to sell to customers around the world, and most dropshipping apps support international shipping.
You’ll just need to set up your shipping settings to include international locations. Keep in mind that shipping times and costs might vary depending on the supplier’s location, so be transparent with your customers about estimated delivery times.
Final Thoughts: Are You Set for Dropshipping?
Starting your own dropshipping store is an exciting way to dive into the e-commerce world, and with Shopify, getting your store up and running is simpler than you might think.
In this guide, we’ve covered everything you need to know to get started with Shopify dropshipping— from setting up your store and choosing the right products to optimizing your store and marketing it for success.
By following these steps, you’ll be well on your way to building a successful online business.
If you’re ready to take the next step and need support with finding great suppliers, NicheDropshipping is here to help!
Our expert team can assist you with everything from sourcing the right products to managing logistics, so you can focus on growing your business. Contact us to learn more about how our agents can help you!